Adding a Room to a Customer
Rooms can be added to Units through the Room Hierarchy section of the Room Editor.
- Click the 'Add Unit/Room button
 at the top of the Room Hierarchy.
Or alternatively, right click on the Unit in the hierarchy under which the room will sit, and click 'Add Room to Unit' - This will bring up the Add Room menu, where the settings of the new room can be entered.

The Room's Name can be entered in the left-hand pane, along with the Customer and Unit that it falls under.
The Manufacturing Room checkbox should be selected if the room is used for Batch Manufacturing.
- Operators can be added to the room using the central panel, tick each operator that needs to be added, or click Select All to select every available operator.
Auto-Add Operators will add 10 generically named operators to the room based on the unit prefix.
This button can be continually clicked to add further batches of 10 operators to the room.
Manage Operators will bring up the Operator Management dialog where operators can be added or deleted for each Customer.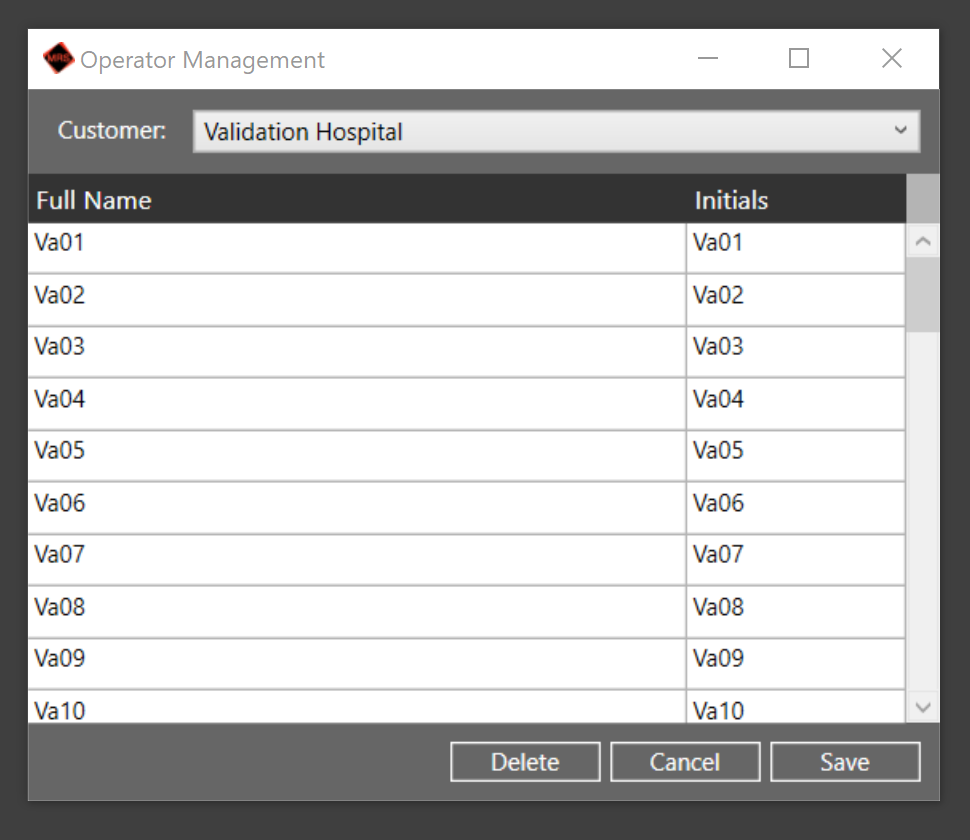
- Web Users can then be assigned access to the room using the right-hand pane.
Simply tick each Web User that should be allowed access.
The Manage Web Users button will bring up a dialog in which you can Add/Delete Web Users from the system. - Once the Room has been set up to your desired specification, click Save below the Room details panel, to finish the creation of the new Room.
It will then appear underneath your chosen Unit in the Room Hierarchy, in Red, signaling that is currently deactivated and cannot be used.
Once your Room has been created, Plate Locations can be set up and managed.