Adding a Document to a Page
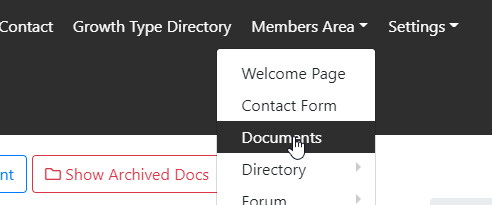
- Firstly, ensure that the document(s) that you wish to link to are available in WCS by going to:
Members Area > Documents on your site's top navigation menu.
See the main 'Documents' section as for a guide on how to add a document to your WCS site.
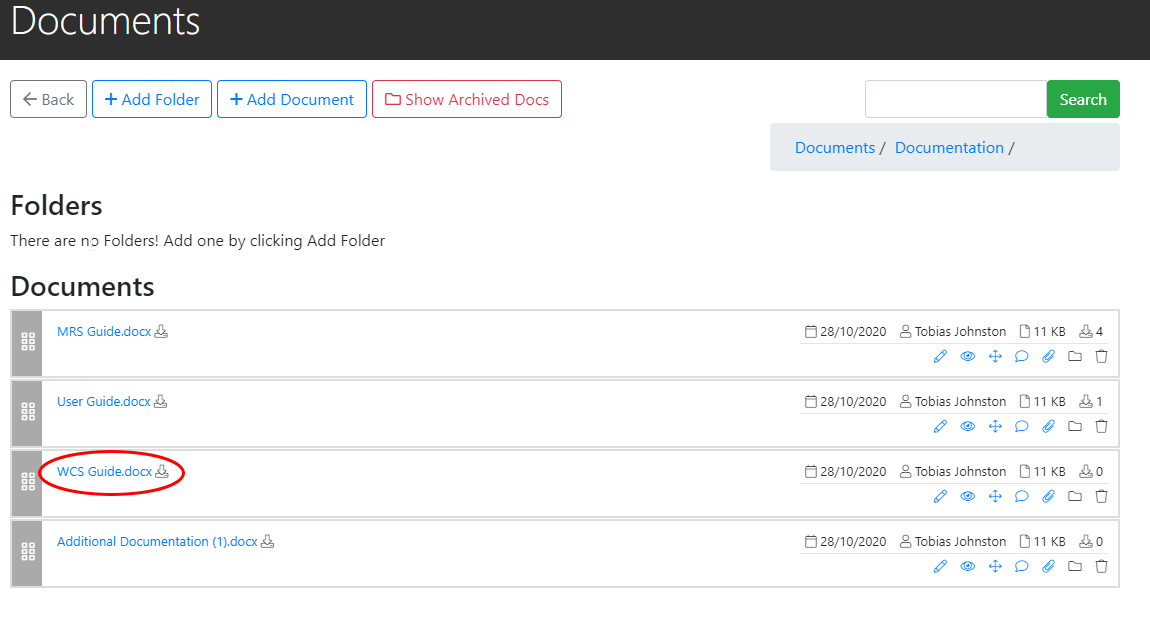
In this instance we will link to the file 'WCS Guide.docx' which is inside a folder called 'Documentation' folder within our main 'Documents' section:
- Under the Support menu we've created a New Page called 'WCS Help' and we'll add the link to our 'WCS Guide' file on here.
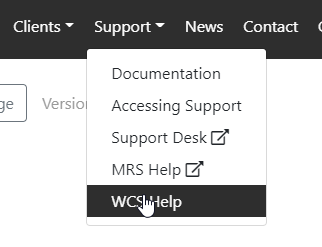
Once we've clicked onto the 'WCS Help' page, we can go to 'Edit Page'.

And in the pages content Editor click on 'Document Link'

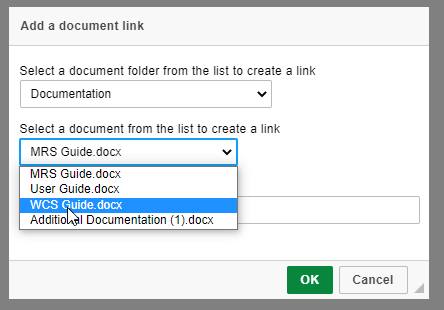
This will bring up a window in which we can select the folder which contains the document (in this case, 'Documentation') 'WCS Help Document':
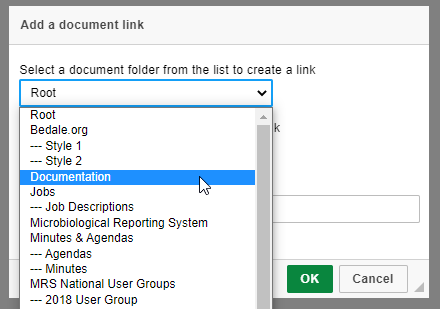
And in the next dropdown menu, the folder's contents will be displayed, including the relevant file:
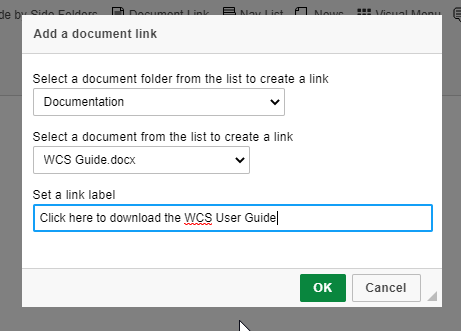
The link label is the text that the link to our document will be displayed as.
In this example, we will change this to 'Click here to download the WCS User Guide'.
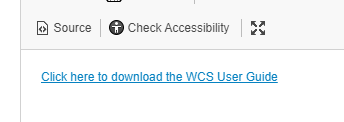
Once we click ok, this will show us our link in the Content Editor:
And if we save our page, and view it, the link to our document is visible on the page:
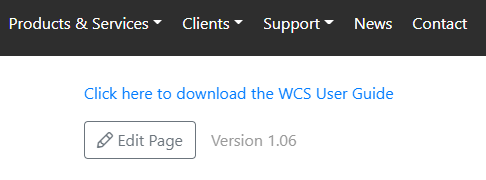
Clicking it will download the document file to your computer.
Note that in order for this file to be downloadable to users without an account, it must have been set to 'Public' when added to the Documents section, otherwise they will be prompted to log in to download the document.