Adding a Folder of Documents to a Page
Video Tutorial (fullscreen recommended)
- Firstly, ensure that the document(s) that you wish to link to are available in WCS by going to:
Members Area > Documents
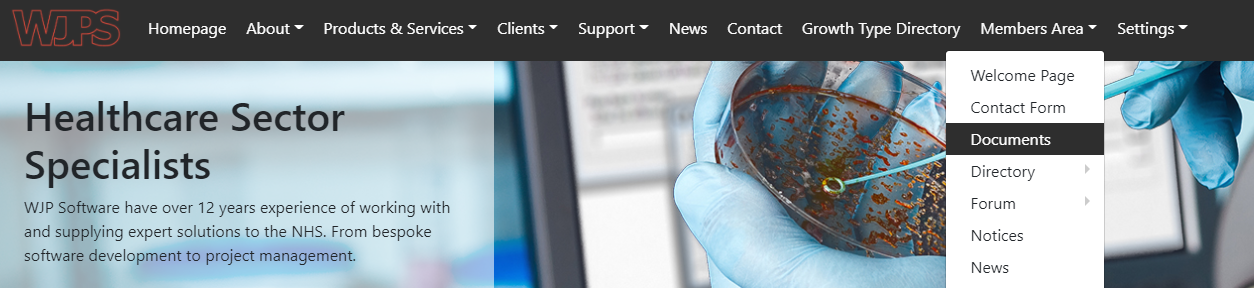
You can link to individual documents, or even all of the documents within a particular folder.
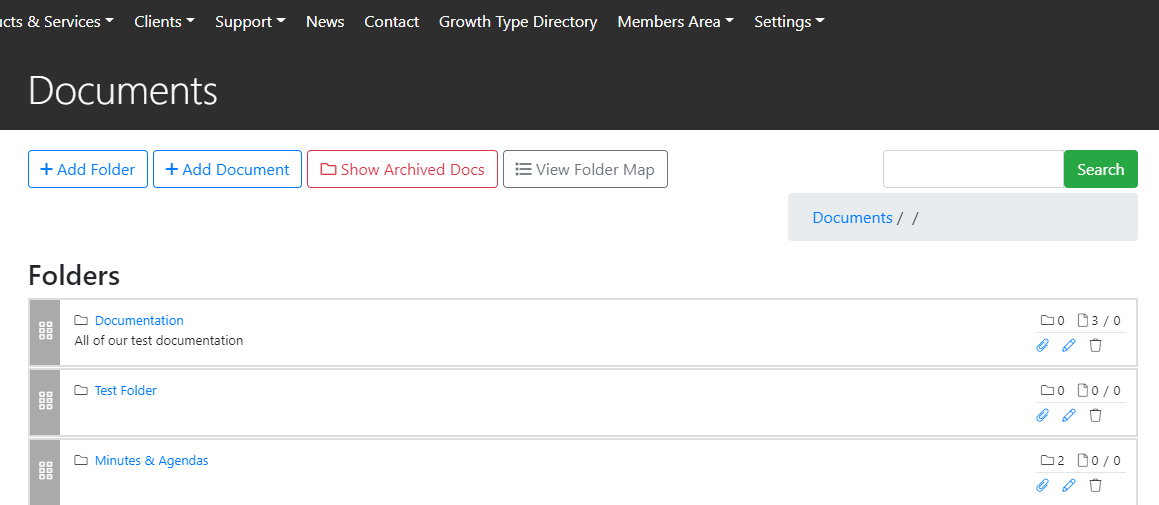
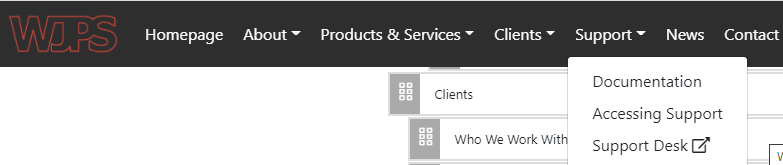
In this example, we have a folder called ‘Documentation’ which contains 3 Word documents which we will then link to through a page we’ll create underneath the ‘Support’ menu highlighted in the screenshot below.
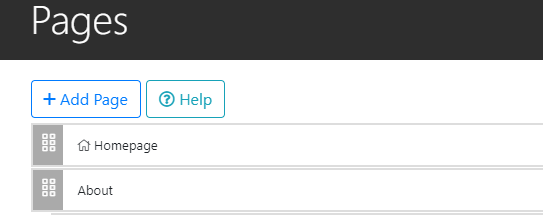
- Now we need to create a page to link to all the documents. In this instance the page is ‘Documentation’, and we will then add it to the ‘Support’ menu.
Go to Settings > Pages in the main navigation and click the + Add Page button at the top.
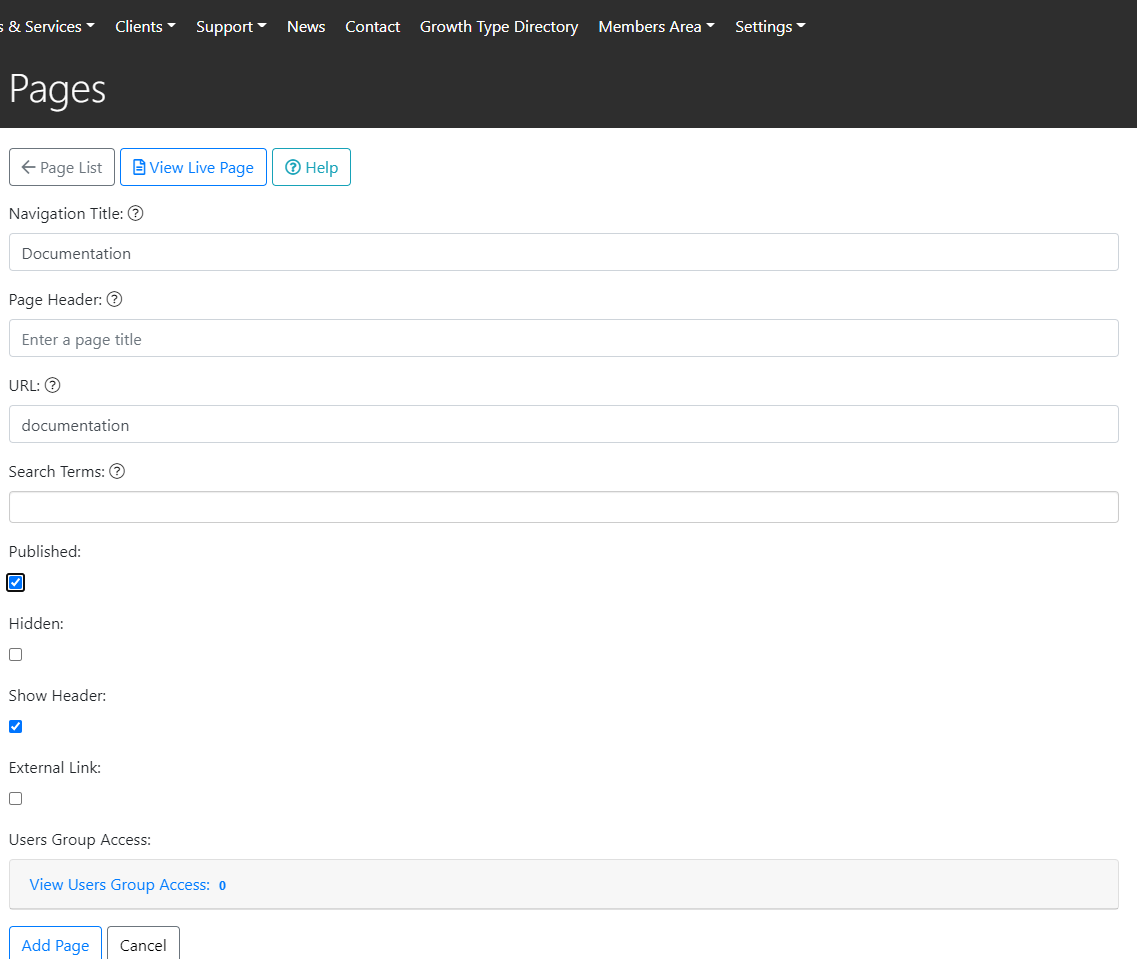
Above are the settings for our example, which we now need to add underneath the ‘Support’ menu in our site navigation (as shown below).

This will then show under our ‘Support’ menu like this:
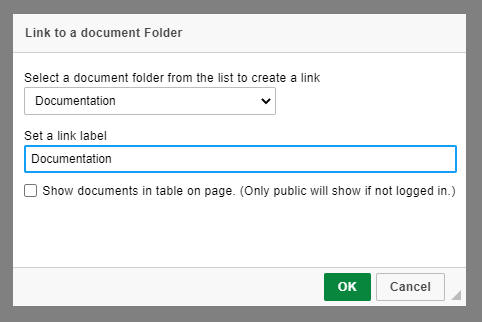
- Now we can add our files to this ‘Documentation’ page if we edit it in the page editor. Select the option ‘Folder Link’ in the page editor’s ‘Content’ box:

We can then select the document folder that we want to make available to our users (in our case the ‘Documentation’ folder).
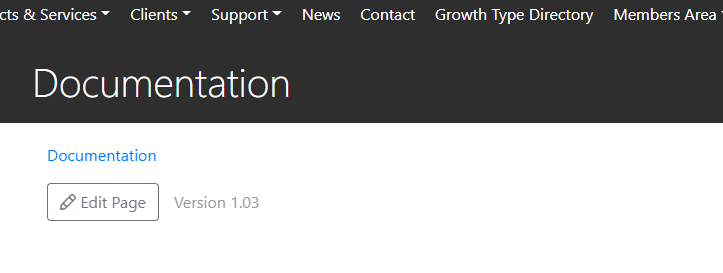
By default, this will be in the form of a link on the page, which will go directly to the folder in the ‘Documents’ section, and look like the below if you save the page:
Note that this link will only work for registered users with the appropriate permissions
If you want the documents to be available to the general public, you can tick the ‘Show documents in table on page’ option instead, and they will be placed on the page directly, ready for download as shown below.
This method has a further advantage in that any documents you add to this folder in the future will be automatically added to this list.
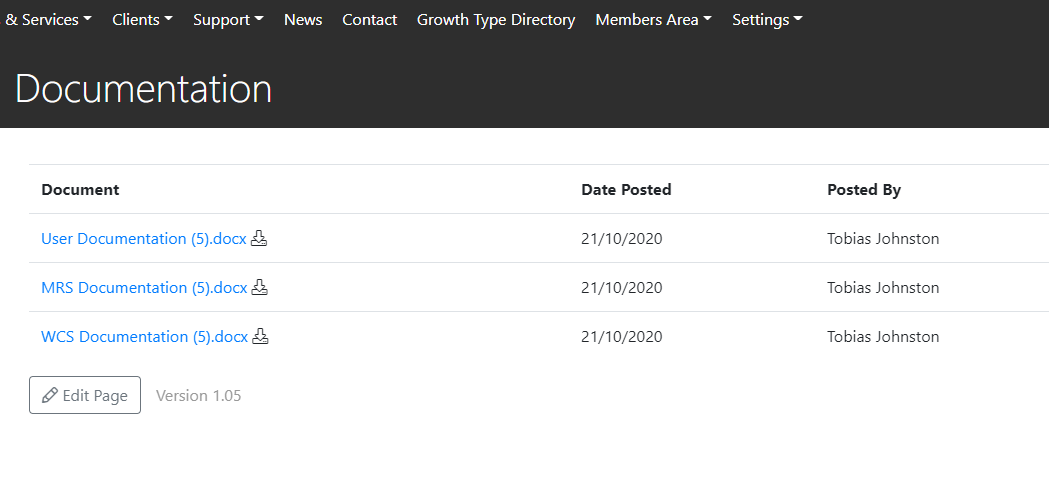
Note that the documents MUST be set as ‘Public’ when added, otherwise they will not appear here for users who do not have a login for this site.